Uploading a large photograph directly from a camera or phone can add several megabytes to a WordPress page. Repeat that across blog posts, product galleries, landing pages, and featured images, and the Media Library quickly becomes one of the heaviest parts of the website.
The practical solution is to automate the routine work.
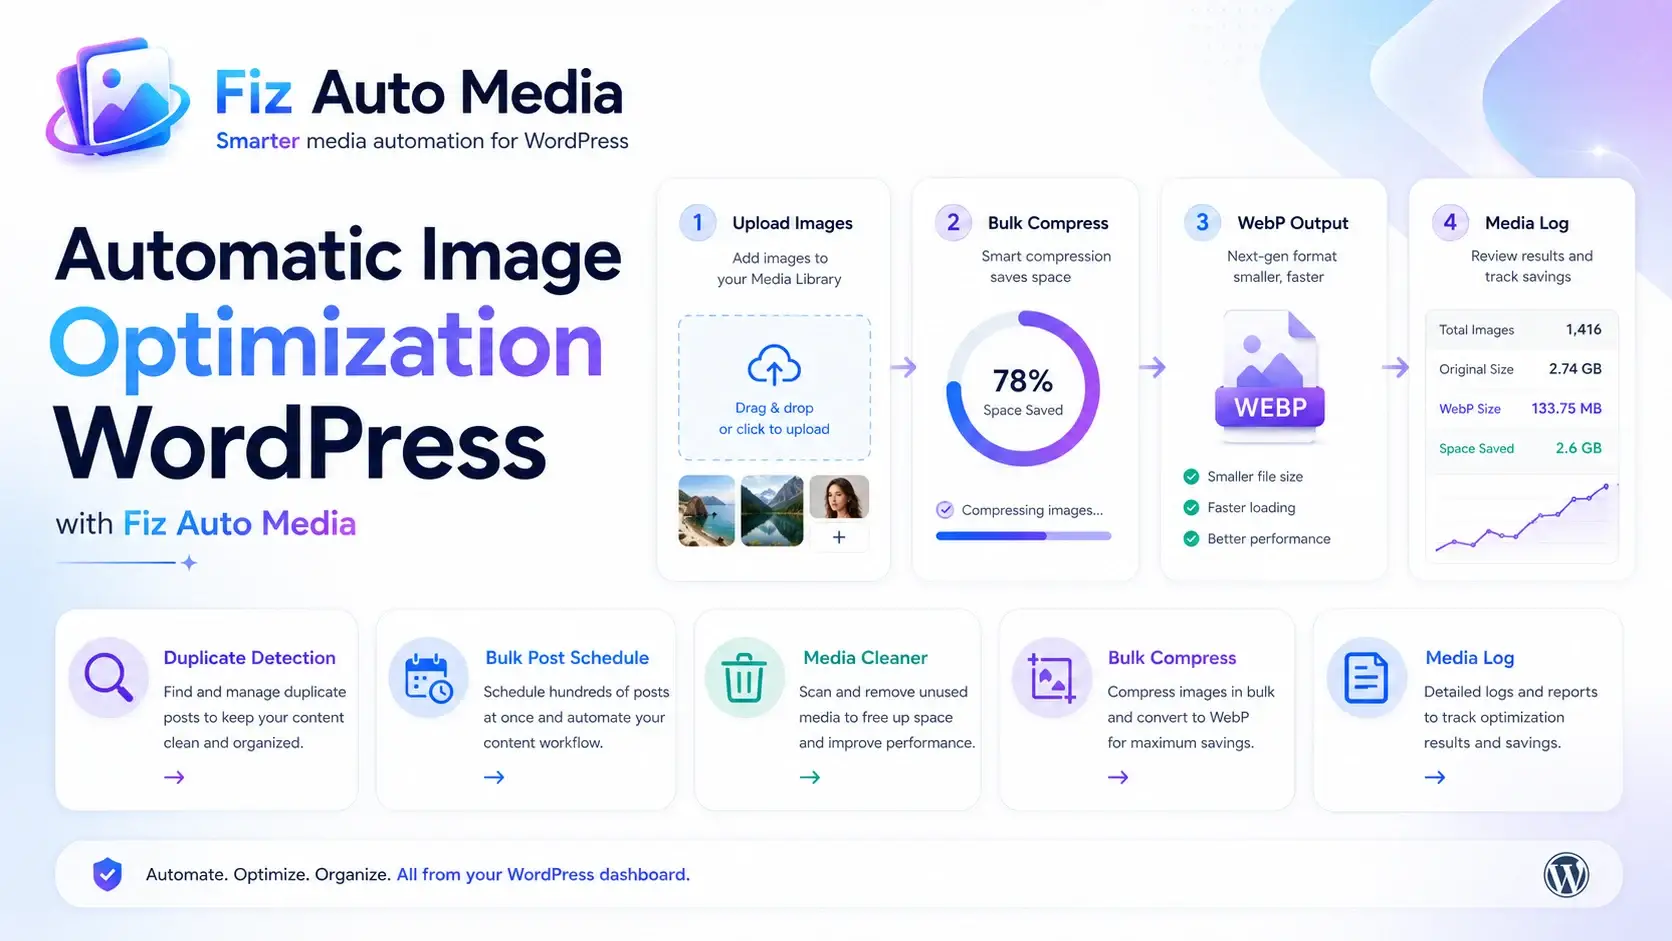
For most WordPress sites, a reliable automatic image optimization setup should do four things:
- Resize unnecessarily large uploads.
- Compress new images as they enter the Media Library.
- Generate or deliver efficient formats such as WebP or AVIF.
- Bulk-optimize images that were uploaded before the system was enabled.
WordPress already handles some image-performance tasks, including responsive image sizes and lazy-loading decisions. However, it does not provide a complete optimization workflow for every original upload and existing Media Library file.
This guide explains what WordPress handles, what an optimization plugin should add, how to configure it safely, and how to verify that visitors are receiving the optimized files.
Table of contents
- What automatic image optimization means
- What WordPress already does
- The recommended automatic optimization workflow
- How to choose an optimization method
- Recommended settings
- How to optimize existing images
- How to verify the results
- Image optimization and SEO
- Common mistakes
- Troubleshooting
- Frequently asked questions
What is automatic image optimization in WordPress?
Automatic image optimization is a workflow that resizes, compresses, converts, or efficiently delivers an image whenever it is uploaded to WordPress, without requiring the publisher to process each file manually.
Depending on the selected tool, the process may include:
- Limiting the maximum image dimensions
- Applying lossy or lossless compression
- Removing unnecessary metadata
- Optimizing WordPress-generated thumbnail sizes
- Creating WebP or AVIF versions
- Serving the most appropriate format to each browser
- Keeping an original backup
- Processing previously uploaded images in bulk
Automation does not mean every setting should be enabled blindly. The goal is to reduce unnecessary image bytes while preserving the visual quality and functionality required by the website.
What WordPress already optimizes automatically
WordPress core includes several useful image-performance features.
It creates multiple image sizes
When an image is uploaded, WordPress normally creates thumbnail, medium, large, and other registered sizes. Themes and plugins may register additional dimensions.
WordPress can include these alternatives in the image’s srcset markup so the browser can select a suitable file for the visitor’s screen and layout. The WordPress responsive images documentation explains how this selection works.
It scales exceptionally large uploads
WordPress uses a default large-image threshold of 2,560 pixels. When either dimension exceeds that threshold, WordPress normally creates a scaled version and uses it as the largest standard attachment size.
The original upload may still remain on the server, so this feature primarily prevents the oversized version from being used casually on the front end. It does not necessarily reduce Media Library storage.
It adds image-loading attributes
Modern WordPress versions use loading-related attributes to improve front-end performance. Images farther down a page may receive loading="lazy", while an image that is likely to be the Largest Contentful Paint element may receive fetchpriority="high".
These decisions matter because an above-the-fold hero image should not be delayed in the same way as a gallery image near the bottom of the page.
It supports AVIF uploads when the server supports them
WordPress 6.5 and later supports uploading, editing, resizing, and saving AVIF images when the hosting environment’s Imagick or GD library provides AVIF support.
You can check this in:
Tools → Site Health → Info → Media Handling
Look for AVIF in the list of supported formats.
What WordPress core does not provide by itself
WordPress core does not automatically provide every part of a complete optimization system.
| Task | WordPress core | Dedicated optimizer commonly adds |
|---|---|---|
| Generate multiple responsive sizes | Yes | May optimize every generated size |
Add srcset and sizes | Yes | May improve delivery or use a CDN |
| Scale images above the large-image threshold | Yes | Custom upload limits and resizing rules |
| Compress generated image derivatives | Partially | More aggressive or configurable compression |
| Compress every original upload | Not as a complete workflow | Usually |
| Convert every JPEG or PNG to WebP or AVIF | No, not by default | Often |
| Bulk-process an existing Media Library | No | Usually |
| Restore optimized images from backup | No general workflow | Available in some tools |
| Deliver device-specific images through a CDN | No | Available in CDN-based services |
This distinction is important. Seeing several image sizes in the uploads directory does not prove that those files are efficiently compressed or that the best version is being delivered.
The recommended automatic image optimization workflow
A dependable workflow should address both future uploads and the files already on the site.
1. Back up the website and record a baseline
Before changing image files in bulk, create a full backup that includes:
- The WordPress database
- The entire uploads directory
- Offloaded media, when applicable
- Plugin and theme settings
A database-only backup is not enough. The attachment records may remain intact even if the physical files are damaged or replaced.
Next, test several representative pages before optimization:
- Homepage
- A typical blog post
- A page with a large hero image
- A WooCommerce product page
- A gallery or portfolio page
- A page performing poorly in PageSpeed Insights
Record the total image transfer size, the Largest Contentful Paint element, and any warnings about oversized or inefficiently encoded images. This gives you a meaningful before-and-after comparison.
2. Choose where image processing should happen
WordPress image optimizers generally use one of three approaches.
| Approach | Where processing occurs | Suitable for | Main trade-off |
|---|---|---|---|
| Local processing | Your WordPress server | Privacy-conscious sites and sites that prefer no external processing account | Can consume CPU, memory, and disk resources |
| External API processing | The plugin sends images to a remote optimization service | Shared hosting and users who want optimized compression without server load | Credits, account requirements, or recurring costs may apply |
| Image CDN or adaptive delivery | A remote service transforms and serves images when requested | International traffic, responsive delivery, and large media-heavy sites | Dependence on the CDN and URL-delivery system |
No approach is automatically best for every website.
A small content site may be comfortable with local processing. A store containing thousands of product images may benefit from external processing or CDN delivery. A photography website may place more value on visual control and original-file preservation than maximum compression.
Before selecting a plugin, check:
- Whether it optimizes the original, thumbnails, or both
- Whether new uploads are processed automatically
- Whether existing images can be processed in bulk
- Which file formats it supports
- Whether WebP or AVIF files are only generated or also served correctly
- Whether originals can be restored
- Whether an account, API key, or paid allowance is required
- Whether processing happens locally or externally
- Whether the plugin overlaps with a caching, CDN, or hosting feature already active
Do not install multiple image-optimization plugins to compare them on a live website. Their rewriting, lazy-loading, conversion, and backup systems can conflict.
3. Set an appropriate maximum upload size
Compression reduces file weight, but resizing often creates the largest practical saving.
A 5,000-pixel photograph does not need to remain 5,000 pixels wide when the largest content container displays it at 1,200 pixels.
A useful starting principle is to prepare an image at up to approximately twice its largest CSS display width when high-density screens need to be supported. For example, an image displayed at 1,200 CSS pixels may use a source around 2,400 pixels wide.
This is a guideline, not a universal requirement. The correct maximum depends on:
- The theme’s content width
- Full-width and boxed layouts
- Retina or high-density display requirements
- Product zoom functionality
- Photography or portfolio requirements
- Whether the file will be offered as a downloadable original
- The dimensions used in social sharing metadata
Avoid setting a maximum dimension merely because a plugin recommends a popular number. Inspect the actual website layout first.
4. Choose compression and output formats
Lossy or lossless compression
Lossy compression removes some visual data to produce a smaller file. It is usually appropriate for photographs, article thumbnails, banners, and product imagery when configured carefully.
Lossless compression reduces file size without discarding image data. It can be useful for graphics that require precise reproduction, but the resulting files are often larger.
For most publishing websites, visually conservative lossy compression provides a better balance between page weight and appearance.
Plugin quality labels are not standardized. “Medium,” “balanced,” or “aggressive” can produce different results in different tools. Test the setting on:
- A detailed photograph
- A face or skin tone
- A product image
- A screenshot containing text
- A transparent graphic
- A dark image with gradients
Pay particular attention to banding, blurry text, damaged transparency, halos, and loss of fine product detail.
JPEG, WebP, or AVIF
JPEG remains widely compatible and works well for photographs. WebP and AVIF generally offer more efficient compression and can support features such as transparency.
The web.dev image-format guidance recommends using modern formats where practical, with appropriate fallback handling where necessary.
A sensible delivery order is often:
- AVIF for browsers and servers that handle it reliably
- WebP as an efficient modern alternative
- JPEG or PNG as the original-format fallback
Generating an AVIF or WebP file is only half the task. The theme, plugin, server rewrite, <picture> markup, or CDN must also deliver that version to the browser.
PNG and transparent images
Do not convert every PNG automatically without checking its purpose.
PNG may still be suitable for certain screenshots, interface elements, or graphics requiring exact transparency. WebP and AVIF can also support transparency, but the conversion result should be visually tested.
Metadata removal
Image files may contain EXIF metadata such as camera information, editing details, dates, and sometimes location-related data.
Removing unnecessary metadata can reduce file size and limit accidental disclosure. However, photographers, publishers, and organizations that rely on rights-management information may need to preserve selected metadata.
Make this a deliberate policy rather than automatically removing everything.
5. Enable automatic optimization for new uploads
Once the output has been tested, enable optimization on upload.
Confirm whether the plugin will process:
- The original image
- The scaled image
- Thumbnail
- Medium
- Medium-large
- Large
- Theme-specific sizes
- WooCommerce gallery sizes
- Additional sizes created by page builders or plugins
Optimizing only the original can leave several uncompressed derivatives in use. Optimizing every registered size can require more processing time or API credits, but those derivatives are often the files visitors actually receive.
Upload a new test image after enabling automation. Do not assume the setting works simply because it is switched on.
6. Bulk-optimize the existing Media Library
Automatic upload optimization affects future files. It does not normally repair images that were uploaded before the feature was enabled.
Use the optimizer’s bulk-processing tool for existing media.
For a large site:
- Back up the uploads directory.
- Test a small group of images first.
- Review their appearance on the front end.
- Confirm that responsive sizes and galleries still work.
- Process the library in manageable batches.
- Monitor server memory, CPU usage, and available disk space.
- Purge page, object, browser, and CDN caches.
- Recheck important pages after completion.
Do not close a bulk-processing screen unless the plugin explicitly supports background or resumable processing.
Some tools keep both original and optimized files. Others generate additional WebP and AVIF copies for every WordPress image size. This can increase disk usage even though the delivered page becomes lighter.
Bulk optimization and storage cleanup are related but separate tasks.
7. Verify what the browser actually receives
The most overlooked step is delivery verification.
An optimizer may report that it created a WebP or AVIF file while the live page continues to serve the old JPEG. A cache, page builder, CSS background image, CDN configuration, or rewrite rule may prevent the optimized version from being used.
Inspect the rendered image
Open the page in a desktop browser, right-click the image, and inspect it with developer tools.
Check:
- The requested image URL
- The response content type
- The file dimensions
- The transferred size
- The
srcsetandsizesattributes - Whether the image is coming from the expected origin or CDN
- Whether an above-the-fold image has been lazy-loaded incorrectly
- Whether the browser selected an oversized source
The filename extension alone is not always conclusive. A CDN may return an AVIF or WebP response from a URL that still appears to end in .jpg. The response content type provides stronger evidence.
Test the LCP image separately
Google’s Largest Contentful Paint optimization guidance warns against lazy-loading the LCP image.
A hero, featured image, or product image visible immediately after opening the page should normally be discoverable in the initial HTML. It should not be hidden behind JavaScript or delayed until the browser confirms that it is inside the viewport.
WordPress core attempts to make sensible loading decisions, but themes, sliders, builders, and optimization plugins can override them.
Purge every cache layer
After changing image delivery, clear:
- WordPress page cache
- Optimization-plugin cache
- Hosting cache
- CDN cache
- Reverse proxy cache
- Browser cache during testing
Otherwise, the test may continue to show the old asset.
Recommended settings checklist
The following settings provide a cautious starting point for many content and business sites.
| Setting | Recommended starting approach |
|---|---|
| Automatic optimization on upload | Enable after testing |
| Maximum image dimensions | Base on the theme’s real display width |
| Compression | Visually conservative lossy compression for photographs |
| Thumbnail optimization | Enable for sizes used on the front end |
| Original backup | Keep during initial deployment |
| WebP | Enable when delivery has been verified |
| AVIF | Enable when server, plugin, and delivery method support it reliably |
| Lazy loading | Use for below-the-fold images |
| Hero or LCP image | Do not lazy-load |
| Metadata removal | Remove only when it is not operationally required |
| Bulk processing | Run after a complete file backup |
| CDN transformation | Avoid duplicating another active image CDN |
| Restore option | Test before processing the full library |
These are starting points. Product photography, artwork, medical imagery, maps, diagrams, and downloadable media may require a different balance.
Automatic image optimization and SEO
Image optimization can support SEO by reducing transfer size and helping important visual content render sooner. Images are frequently among the heaviest resources on a page, so correct sizing and compression can contribute to better loading performance.
However, installing an optimizer does not guarantee higher rankings.
Performance is affected by hosting, caching, JavaScript, fonts, third-party scripts, page structure, server response time, and many other factors. Image optimization is one part of a broader performance strategy.
Compression and image SEO are different tasks
File compression changes how many bytes the browser downloads. Image SEO helps search engines and users understand the image.
For meaningful images:
- Use a short, descriptive filename before uploading.
- Place the image near relevant page content.
- Write alt text that describes the image’s purpose in context.
- Use a caption when it helps the reader.
- Avoid repeating the same keyword across every image.
Google’s image SEO best practices recommend descriptive filenames and useful alt text while warning against keyword stuffing.
Decorative images should generally use empty alt text in the rendered markup so screen readers can ignore them. Automatically populating every empty alt field with a keyword can reduce accessibility rather than improve it.
Common automatic image optimization mistakes
Installing overlapping optimization plugins
Two plugins may both attempt to:
- Compress uploads
- Rewrite image URLs
- Generate WebP files
- Add
<picture>markup - Lazy-load images
- connect to separate CDNs
The result can be duplicate files, broken images, inconsistent markup, or difficult troubleshooting.
Use one primary image-optimization workflow and document which tool controls each feature.
Lazy-loading the hero image
Lazy loading is useful below the fold, but it can delay the largest visible image and worsen LCP.
Exclude the likely LCP image from lazy loading and verify the live markup.
Ignoring WordPress-generated sizes
The Media Library original may not be the image used in the article archive, related-post grid, product gallery, or mobile layout.
Ensure the sizes visitors actually receive are optimized.
Using full-size images in a page builder
A builder may place the original 2,560-pixel image into a 500-pixel content card. Responsive markup may reduce the problem, but the browser can still select an unnecessarily large source when the sizes attribute does not accurately describe the layout.
Select an appropriate attachment size and inspect the rendered output.
Generating modern formats without serving them
A folder full of .webp or .avif files does not improve performance if the browser continues downloading JPEGs.
Verify network responses on the live page.
Bulk-processing without a file backup
Bulk optimization can replace or remove files. A database backup cannot restore a damaged uploads folder.
Back up both.
Comparing only a single performance score
A PageSpeed score can change between runs. Compare the actual image request, transfer size, dimensions, LCP behavior, and visible quality—not only the overall score.
Troubleshooting automatic image optimization
The image was optimized, but the page still serves the original
Possible causes include:
- Cached HTML
- Cached CDN assets
- A page builder storing the original URL
- A CSS background image
- Failed WebP or AVIF rewrite rules
- The theme bypassing WordPress attachment functions
- An external image URL that the plugin does not process
Purge caches, inspect the live request, and check whether the image originates from the WordPress Media Library.
Images look blurry after optimization
Check whether:
- Compression is too aggressive
- The maximum upload dimension is too small
- The browser is receiving a low-resolution thumbnail
- A builder is stretching the image beyond its natural dimensions
- The
sizesmarkup causes the browser to choose an undersized source
Restore a test original, reduce compression strength, and compare at the image’s actual displayed size.
WebP or AVIF is not being delivered
Check:
- Whether the format was generated
- Whether the server supports the chosen format
- Whether rewrite rules were added successfully
- Whether the website uses Nginx, Apache, LiteSpeed, or a managed proxy
- Whether a CDN is overriding the response
- Whether the page cache contains old markup
- Whether the plugin requires a separate delivery option
For AVIF uploads, review the Media Handling section in WordPress Site Health.
Bulk optimization stops or times out
Process a smaller batch and check:
- PHP memory limit
- Maximum execution time
- Available disk space
- Server CPU restrictions
- Background-processing requirements
- REST API or loopback-request errors
- Security plugins blocking internal requests
On heavily restricted shared hosting, remote API processing may be more reliable than local compression.
Disk usage increased after optimization
This may happen because the site now stores:
- The original image
- A scaled image
- Several WordPress thumbnails
- A WebP copy of each size
- An AVIF copy of each size
- Backup versions created by the optimizer
Review the plugin’s backup and format-retention settings before deleting files manually.
Do you need an image CDN?
An image CDN can be useful when a site has:
- Visitors across multiple countries
- A large product or editorial image library
- Frequently changing responsive layouts
- Limited origin-server bandwidth
- A need for automatic device-aware resizing
- Images stored in external object storage
A CDN is not automatically required for a small site with well-sized local images and visitors close to the hosting region.
Before adding one, check whether the hosting provider, caching plugin, or current CDN already performs image transformation. Running multiple delivery layers can make invalidation and debugging unnecessarily complicated.
A practical in-WordPress option
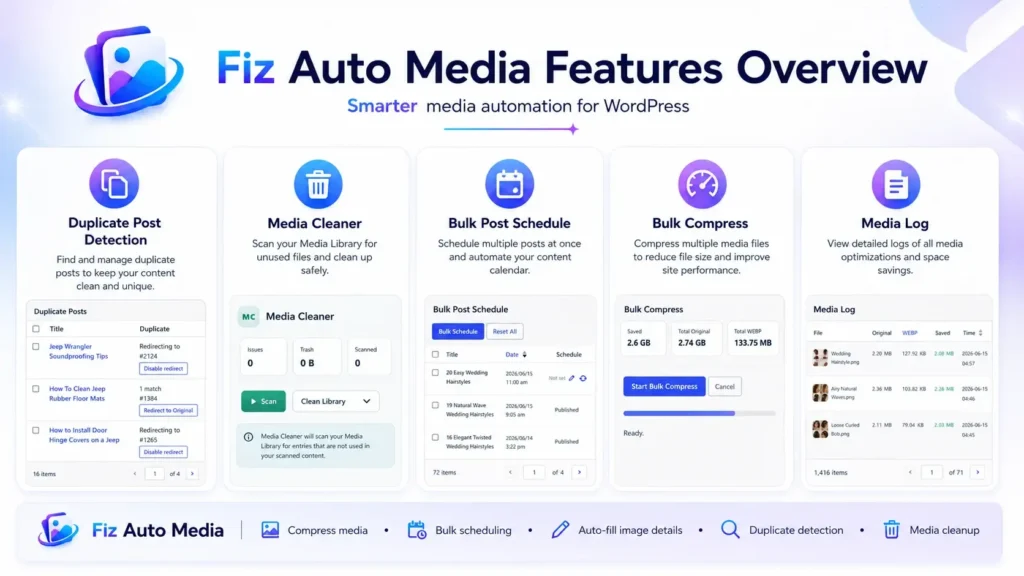
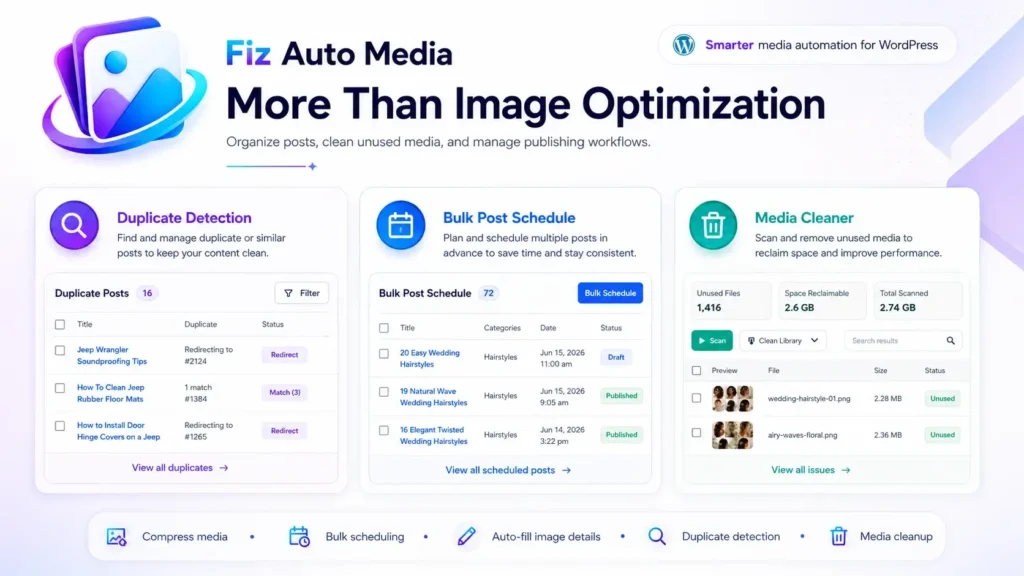
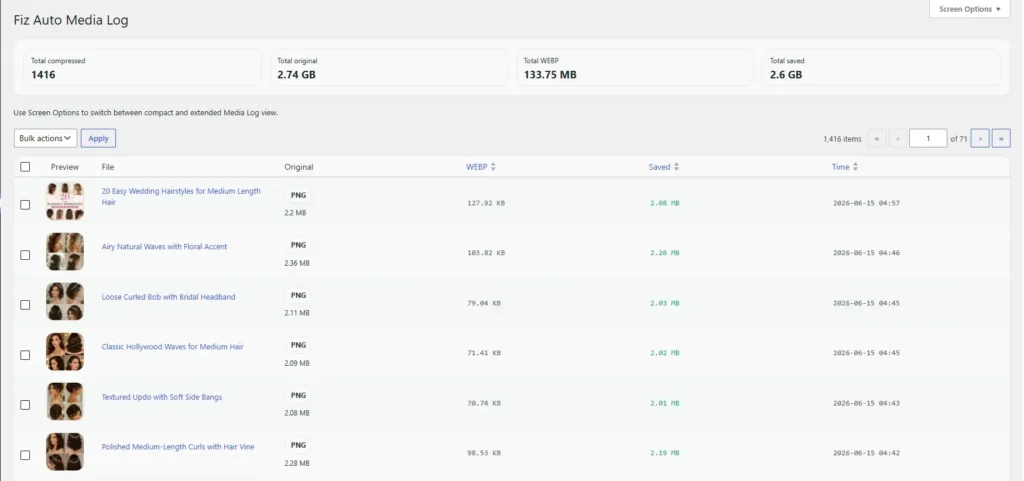
Site owners who prefer to manage optimization from their WordPress dashboard can consider Fiz Auto Media in the WordPress.org Plugin Directory.
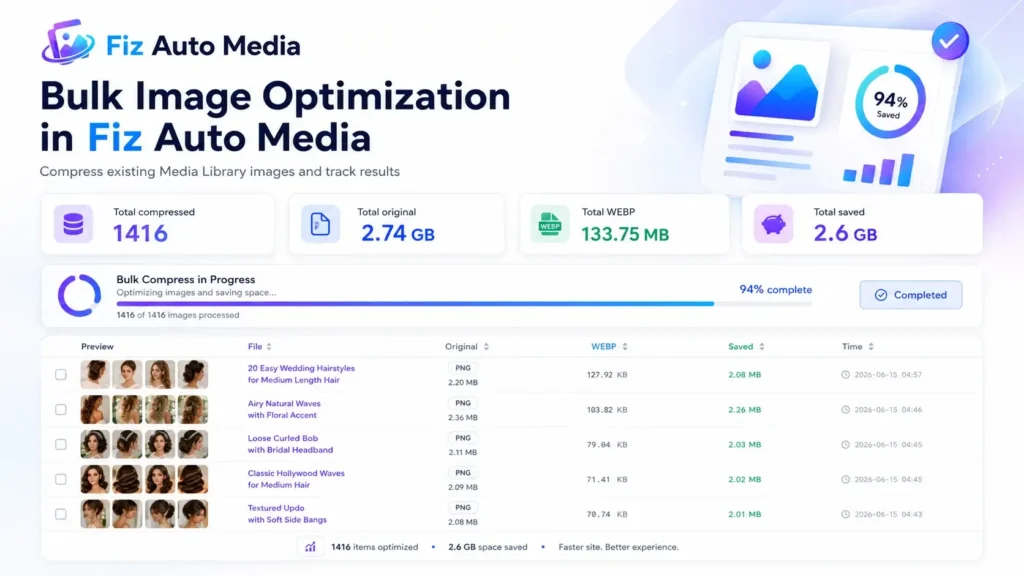
Its image workflow includes automatic optimization for new uploads and bulk optimization for existing Media Library images. The plugin’s tools run within WordPress and do not require a separate external account.
Because server resources and image-processing libraries differ between hosts, enable automatic processing only after testing several representative images. Back up the uploads directory before running a full-library operation.
Frequently asked questions
Does WordPress automatically optimize images?
WordPress automatically creates several image sizes, adds responsive image markup, scales uploads above its large-image threshold, and applies loading-related attributes.
However, it does not provide a complete automatic compression, conversion, delivery, and bulk-optimization workflow for every website. A plugin, hosting feature, or image service is commonly used for those additional tasks.
What is the best image format for WordPress?
There is no single best format for every image.
AVIF can provide very efficient compression, WebP offers broad modern-format support, JPEG remains a reliable choice for photographs, and PNG may still be appropriate for certain transparent graphics and screenshots.
Choose the format based on visual quality, transparency, browser support, server capability, and delivery reliability.
Can existing WordPress images be optimized without re-uploading them?
Yes. Many image-optimization plugins provide a bulk-processing tool for existing Media Library files.
Create a full backup first, test a small batch, and confirm that the plugin processes the image sizes used by the theme and other plugins.
Should every image be lazy-loaded?
No. Images below the fold are good lazy-loading candidates, but the main hero or other likely LCP image should not normally be lazy-loaded.
Delaying that image can make the most important visible content appear later.
Does image optimization improve SEO?
It can support SEO by reducing page weight and improving loading performance, but it does not guarantee ranking improvements.
Search visibility also depends on content quality, crawlability, page structure, user experience, links, technical SEO, and many other factors.
Will image optimization reduce Media Library storage?
Not necessarily.
Optimization may reduce individual files, but preserving originals and generating WebP or AVIF copies for every thumbnail can increase total disk usage. Review backup-retention and generated-format settings when storage reduction is a priority.
Conclusion
A dependable automatic image optimization setup is more than a compression switch.
It should resize oversized uploads, optimize the image sizes visitors actually receive, process old files safely, deliver modern formats correctly, and avoid delaying the page’s most important image.
Start with a backup and a measured baseline. Configure one optimization system, test it on representative media, and inspect the live network response before processing the entire library.
For a workflow managed directly inside WordPress, install Fiz Auto Media from the official Plugin Directory, test automatic upload optimization, and then use its bulk tool to process existing images after creating a complete media backup.
2 thoughts on “Automatic Image Optimization in WordPress: The Best Plugin”